Tuesday, December 17, 2013

DCC Show Group Gifts...77th USO Tour to Korea!

Twelve of the Dallas Cowboy Cheerleaders Show Group will be leaving soon to travel to Korea for the holidays.  The remaining 27 cheerleaders give the girls a gift,  Show Group will be gone over the holidays including Christmas day.  My daughter is a DCC and that's how I got involved in the gift making.  The cheerleaders decided to give their DCC Show Group teammates a Christmas stocking and my suggestion of a travel pillow.   I love practical and I hope their pillow will come in handy on the long flights and down time.

The details of the gifts were left up to me so I decided to go with a patriotic theme since they will be traveling to military bases to preform for the troops.  What could be more patriotic than RED, WHITE & BLUE, STARS and a touch BLUE JEAN!  The theme started to take shape and I ran with it!
 This is the pattern I used for the stocking. 
 McCalls 2991... view C.
 I cut the body of the stocking from a red quilted fabric. 
I found mine at Walmart.
 I used the star fabric from Joann's for the outside cuff 
and solid red for the cuff lining.
I cut all 24 pieces out at once...assembly line style!
After sewing the stocking according to the pattern, 
 I attached a 6" piece of red ribbon to make the hanger. 
 I sewed a star button on for an accent.
I attached a silver star with a small red
ribbon on the center of each cuff point.
I filled the stockings with a few goodies also!
On to the travel pillow......
 I made me a pattern out of wrapping paper to cut my fabric.
I found the travel pillow forms at Walmart.

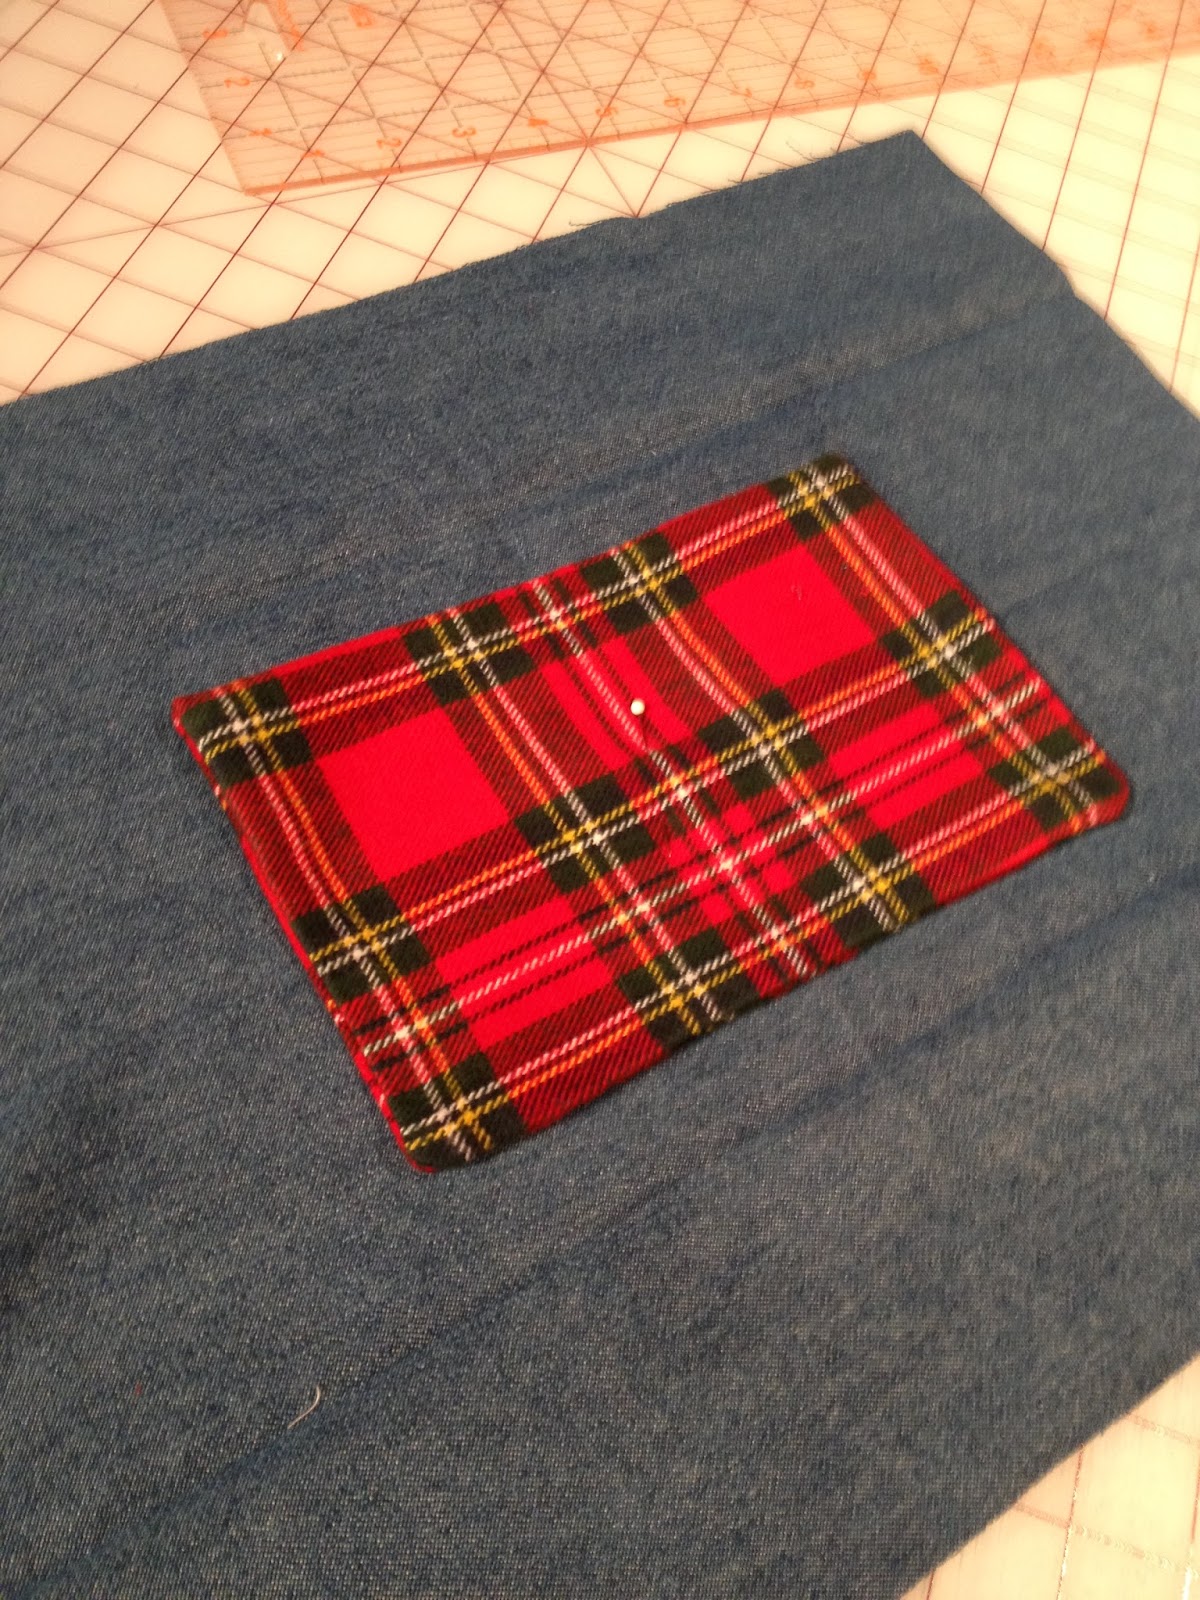
 I cut a piece of jean fabric 8"X 9" for each pillow and 
monogrammed the girls name in the center.

 I found an image of the USO logo and added 
77th to the image and printed it out on fabric sheets
you feed through your inkjet printer.
I printed two to a page.
I cut a piece of white fabric from my pillow front pattern 
piece and laid my design out to determine what size 
each fabric piece should be to fit the pattern.
I added a row of red rick rack to some of the jean pieces.
 I assembled it like you would a quilt....and after it was complete 
I stitched around some of the fabric shapes to add some detail.

 The back panel center edges were turned in and stitched 
to finish the edges.  They were overlapped to form the 
opening for the pillow form to be inserted.
Right sides were sewn together and turned and pressed.
I inserted the pillow form in back opening.
Sew...repeat 12 times...equals success!
Each girl has their own comfy travel pillow
as well as a keepsake!

Gifts all complete and now they need to be wrapped!
 I printed out a copy of each of the 12 girls
from the Dallas Cowboys Cheerleader site
and made a sticker with my Xyron sticker maker.
 I cut a piece of red card stock a little larger than the 
sticker for a backing.
 After sticking each picture on the red card stock 
I punched a small star on the bottom and at each corner.
 All 12 complete...beautiful group of young ladies!

The gifts will be given to the girls on Game Day December 15, 2013!  
They will leave for Korea on Monday the 16th!
Each gift was MADE WITH LOVE!
Merry Christmas and Safe Travels

Friday, December 13, 2013

A Little Reindeer Love!

Who doesn't love a reindeer....I can't get enough of them myself.    I made a sweet little boy a reindeer hooded towel for a December surprise.  The reindeer hooded towel tutorial is located on Crazy Little Projects blog.  She has several versions...all just as cute as the reindeer.  I made the frog hooded towel for this same little boy awhile back.  He's going to have a collection by the time I get finished!  I love all the cute designs.

I did the antlers a little different than the tutorial.
I used felt and double stitched around the edges, 
stuffed with polyfil and inserted like the tutorial.

I painted him a reindeer shirt also.  I recently painted him a turkey shirt for Thanksgiving so I guess he will have a collection of seasonal shirts too!  Love having a little bitty to craft for....I miss those days.
 I used acrylic paint and added Textile medium 
to each color to make it washable. 
Cover the design with a pressing cloth after it 
dries and iron the design to set the paint.


I used the fabric markers to outline the details.

Detail makes all the difference!
Merry Christmas from my house to yours!


Christmas Tree Goes Urban Chic!

It's never too late to start a new tradition.  My sis decided she didn't want her traditional tree this year.  Her children are older and no grands just yet...hopefully soon for her sake!  She found the unfinished wooden tree form at our local Goodwill store.   It has a section devoted to refurbishing and selling handmade things along with the donated items.  She had a vision and made it happen...she called her tree style Urban Chic ....so here goes.  She sent me the pics from her phone during her progress and I am proud to show off her hard work.


 After painting each level of the tree with acrylic paint
 she wrapped the middle section with rope starting at the top. 
 She laid the rope down and began wrapping 
over the starting rope in order for it to stay.  
She did the same at the bottom, tucking the loose ends under. 


She added several strings of lights, a star at the top, 
several clip on peacock ornaments and
two strings of glass bulbs strung on jute. 
She sat it on a small bench on her screened porch
 and attached it to the wall between two nails 
so it wouldn't fall forward.  
Super cute idea and she did a fabulous job!
You go Sistergirl!

Sunday, December 8, 2013

Paper Snowflakes

It snowed a few flakes here in Louisiana recently but I don't think I will hold my breath till it snows again....I might turn blue in the face.  I recently saw on Pinterest a few ideas for making a garland from circles putting two shapes together and sewing them together.  I love snowflakes so I thought I might give it a try using white card stock punched with my snowflake punch.  After I punched lots of snowflakes out I laid two on top of each other and sewed down the middle and kept feeding them into the machine until I had a garland as long as I wanted.  After they were sewn together I came back and folded the two snowflake pieces in opposite directions to make it appear dimensional.   Easy as that...I made SNOWFLAKES!  I hung mine in a swag above my breakfast room windows.
Let it SNOW!

Friday, December 6, 2013

Oreo Peppermint Delight!

Looking for a quick sweet to take to a party, this is it!  Peppermint Oreo cookies with PIZZAZZ!
It's really simple, melt your white chocolate (I used almond bark) and dip your cookie in half way.  Dip in crushed peppermint (I crushed candy canes from Christmas Past) lay them on wax paper after you dip and put them in the refrigerator to harden...Sweet..Simple......Fast ...My kind of dessert!
I'm calling them Oreo Peppermint Delights or you could just call them DELICIOUS! 

Friday, November 29, 2013

Traveling Pillow!

Gift making season is upon us.  I tell myself I will start making gifts in July but it never fails and it's NOVEMBER and I haven't started.  Thank goodness for simple ideas that make a big impact, which is my kind of gift!  
This pillow was made for a sweet girl that will be traveling home for the holidays.  Who doesn't need a travel pillow that they can take along with them.  I designed this pillow so it would slip over the pull up handle on a suit case.  The pictures below will show you what I mean.  
 Cut the fabric the width of pillow plus 2" for seam allowance.  
 The length was cut long enough to cover the pillow 
and overlap for the pillow flap.
 Hem both ends of the overlap to finish off the ends.
 The jean material was cut as wide as the pillow 
body and doubled in length.
This will make more sense after you see the below pictures.
 I cut a piece of the plaid to make a pocket to be attached later.
 This is the jean fabric folded in half, pressed and 
then meet the folds in the middle.
Stitch the plaid cut for the pocket wrongs side
 together leaving opening to turn.
Turn right side out, press flat and center it on the jean fabric.  
Stitch around three sides reinforcing the corners.
 Put the jean fabric right sides together and stitch the long seam.
Turn and iron flat with pocket facing up.
 Pin the jean pocket piece on to the back side 
of the pillow just on the sides.
Stitch in place only on the back piece.
 Insert the suitcase handle into the jean piece and pin so
 the pillow back will slip over.
My suit case handle was wide so adjust accordingly. 
 Make a line with a disappearing fabric maker 
and stitch in place on the back of the pillow piece.  
I did a double row of stitching.
I also stitched a line across the plaid pocket to make two separate sections.  
 After the flap is attached fold the fabric over the pillow and pin.
Stitch both sides together and turn to right side.
 Insert pillow form into the opening.  
I added several Velcro pieces to hold
 the pillow flap closed...OOPS no pics!
All finished...slip flap over handle and your ready to go!
Related Posts Plugin for WordPress, Blogger...