I love it when I have an excuse to make baby things! My children are 20 and 18 so it's been a long time since I have sewn for my own..they don't appreciate HOMEMADE at this age! I have a friend who is expecting soon and this was my shower gift to her and her soon to arrive Hadleigh Anne, a BACK SAC! This is my own creation...I combined the idea of a backpack and a tote and this is what I came up with. It will be a bag she can throw a few of those necessary baby things in and head out the door and look cute at the same time. When she grows up it can be her dance sac or a slumber sac!
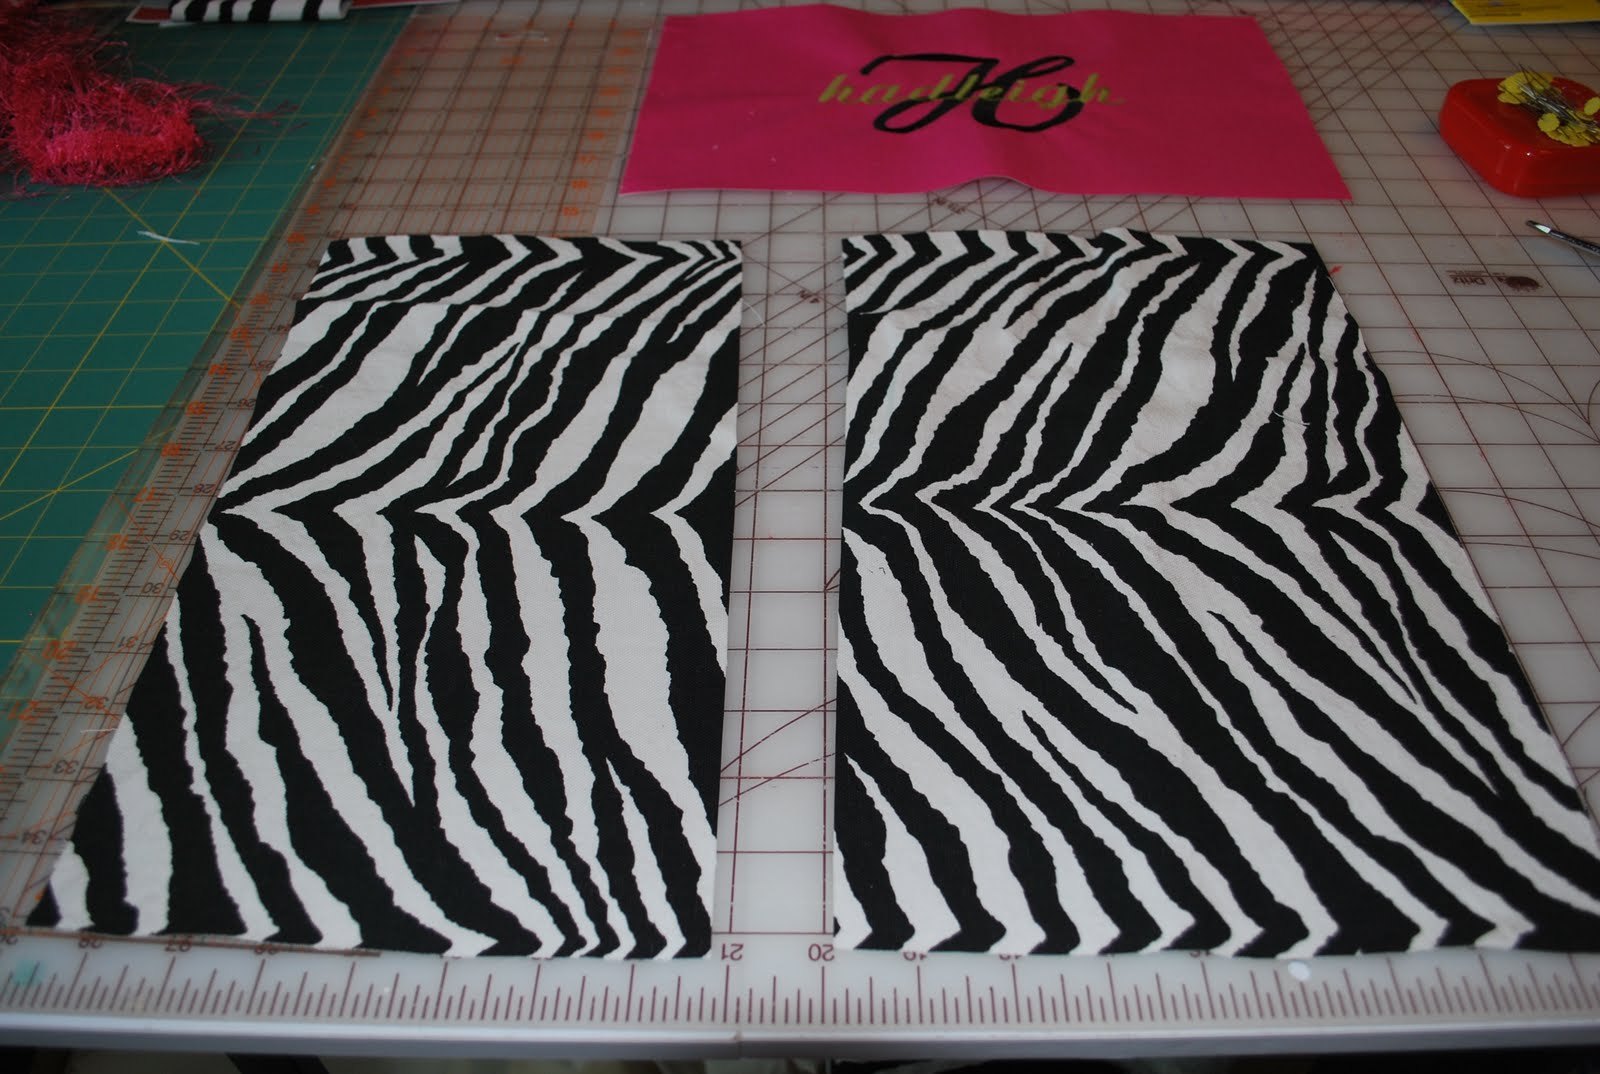
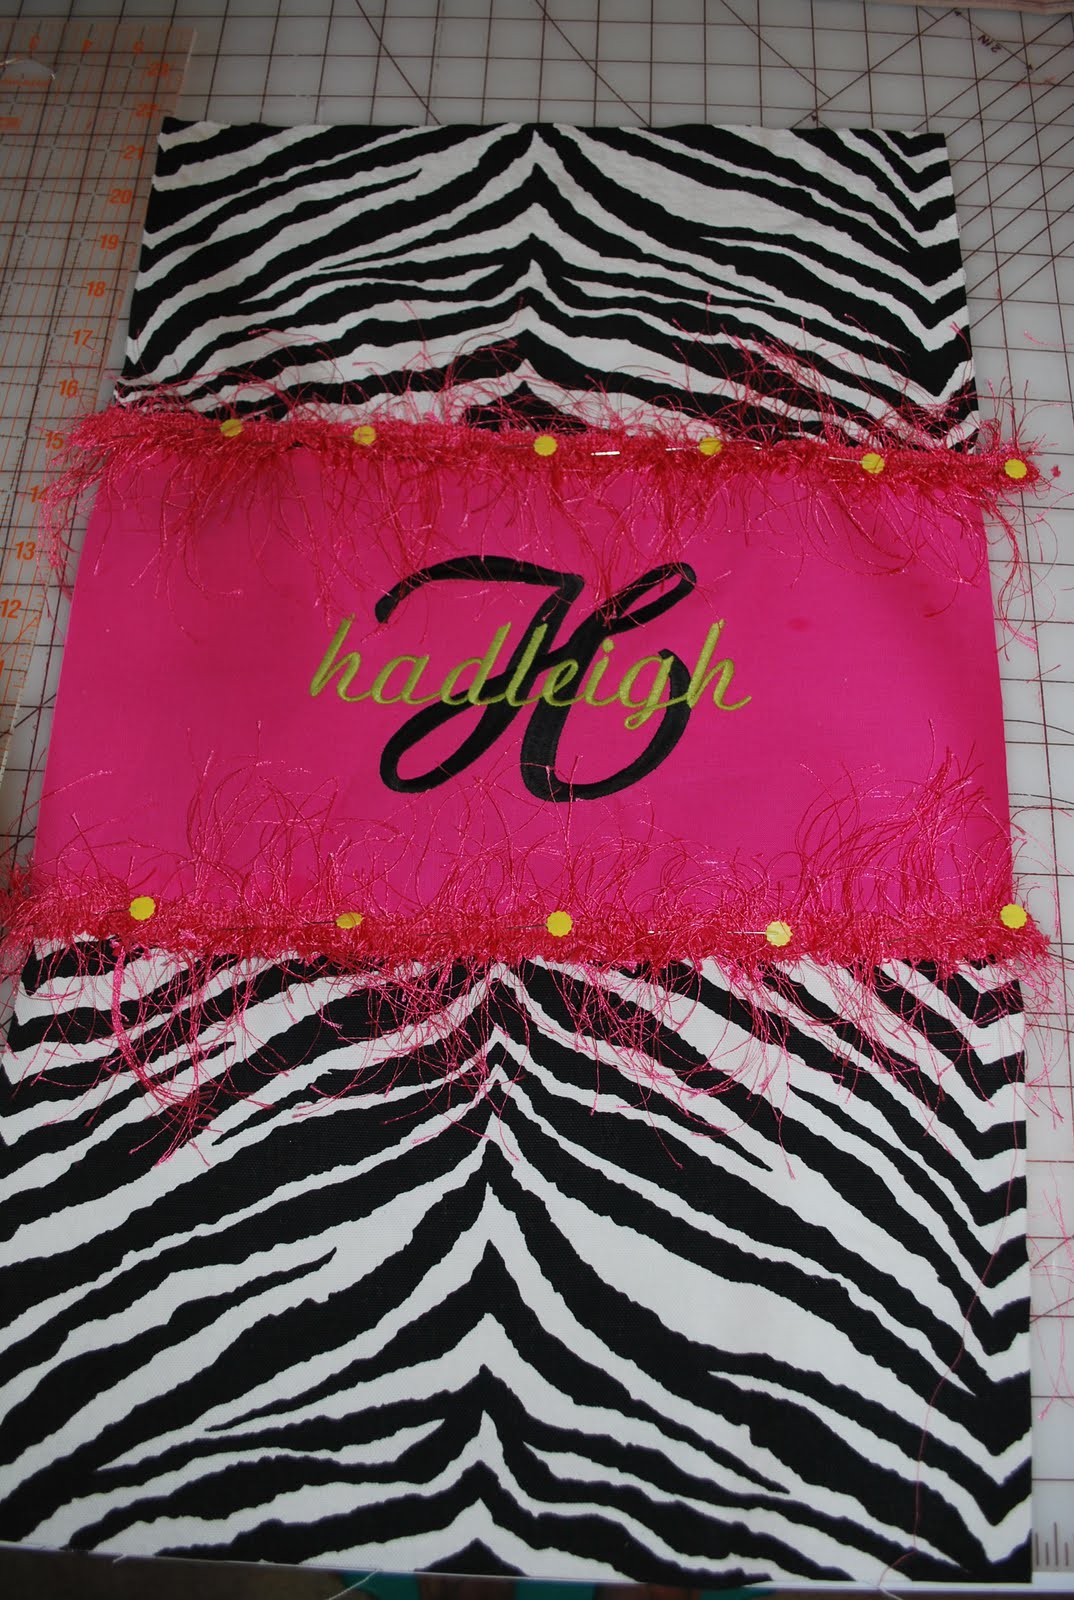
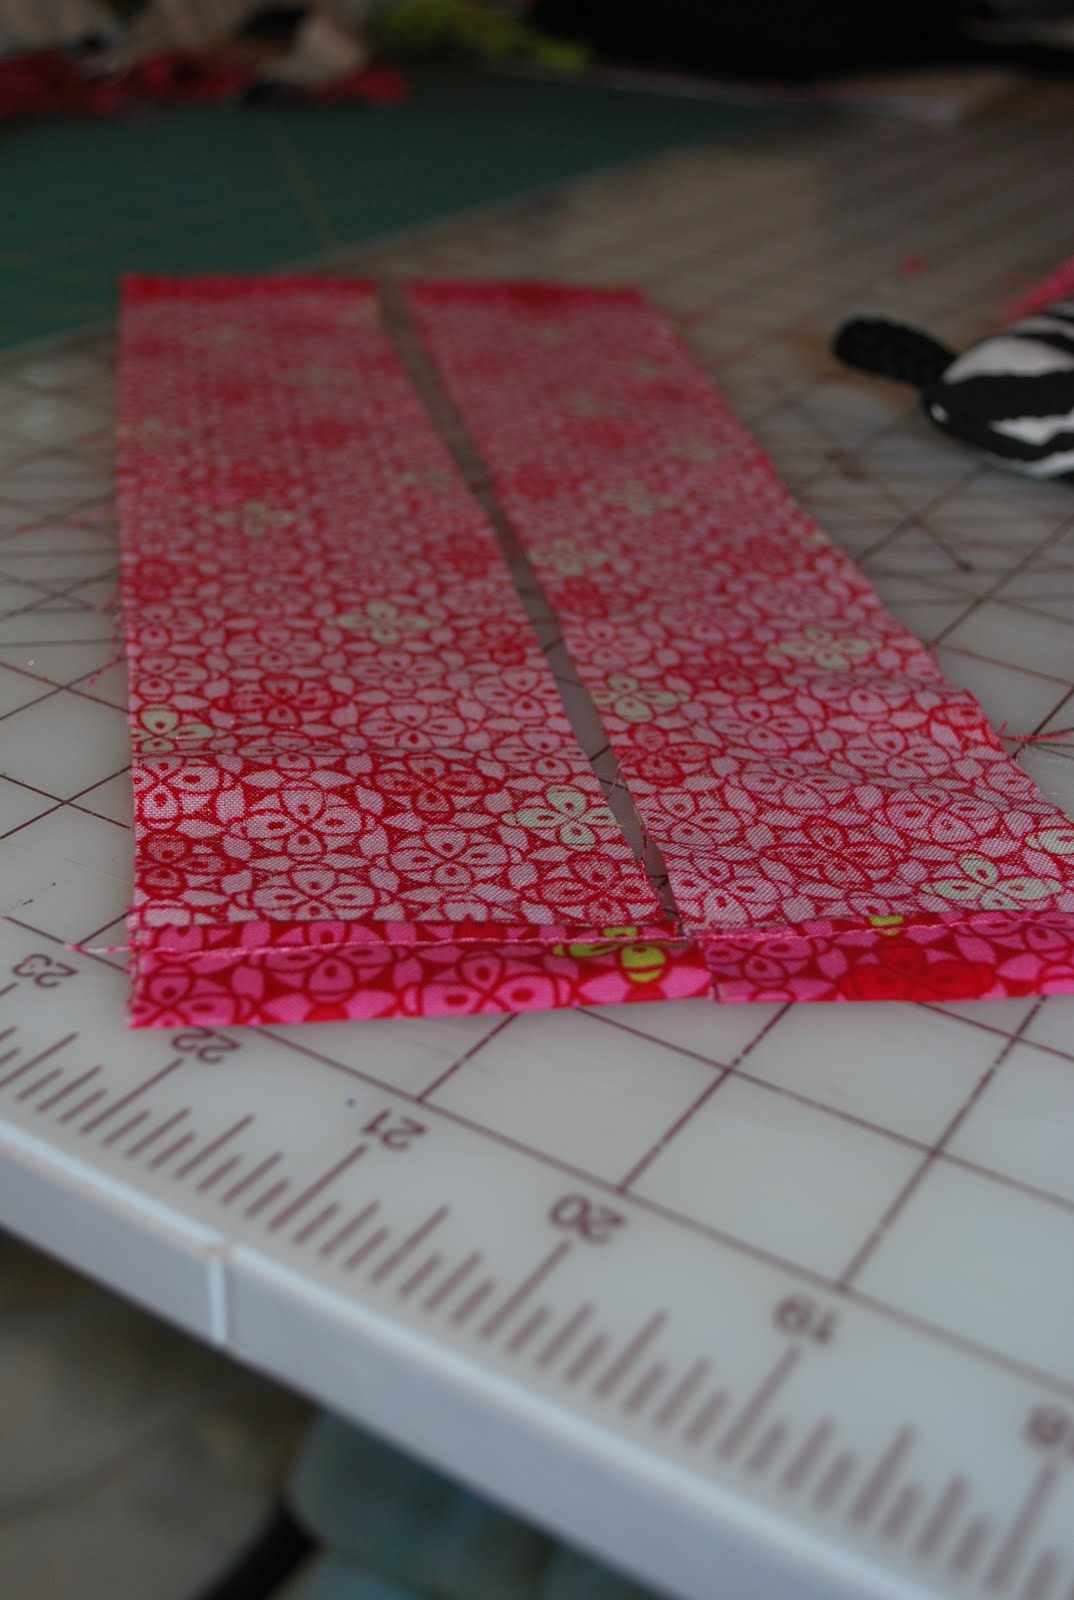
I monogrammed her name on a piece of pink fabric that I inserted to the front of the sac. This is the time to determine how wide your sac will be and cut your fabric accordingly.
I then cut 2 pieces the same width of the pink to attach to the top and bottom to form the front of the sac.
Pin the pieces together and stitch.
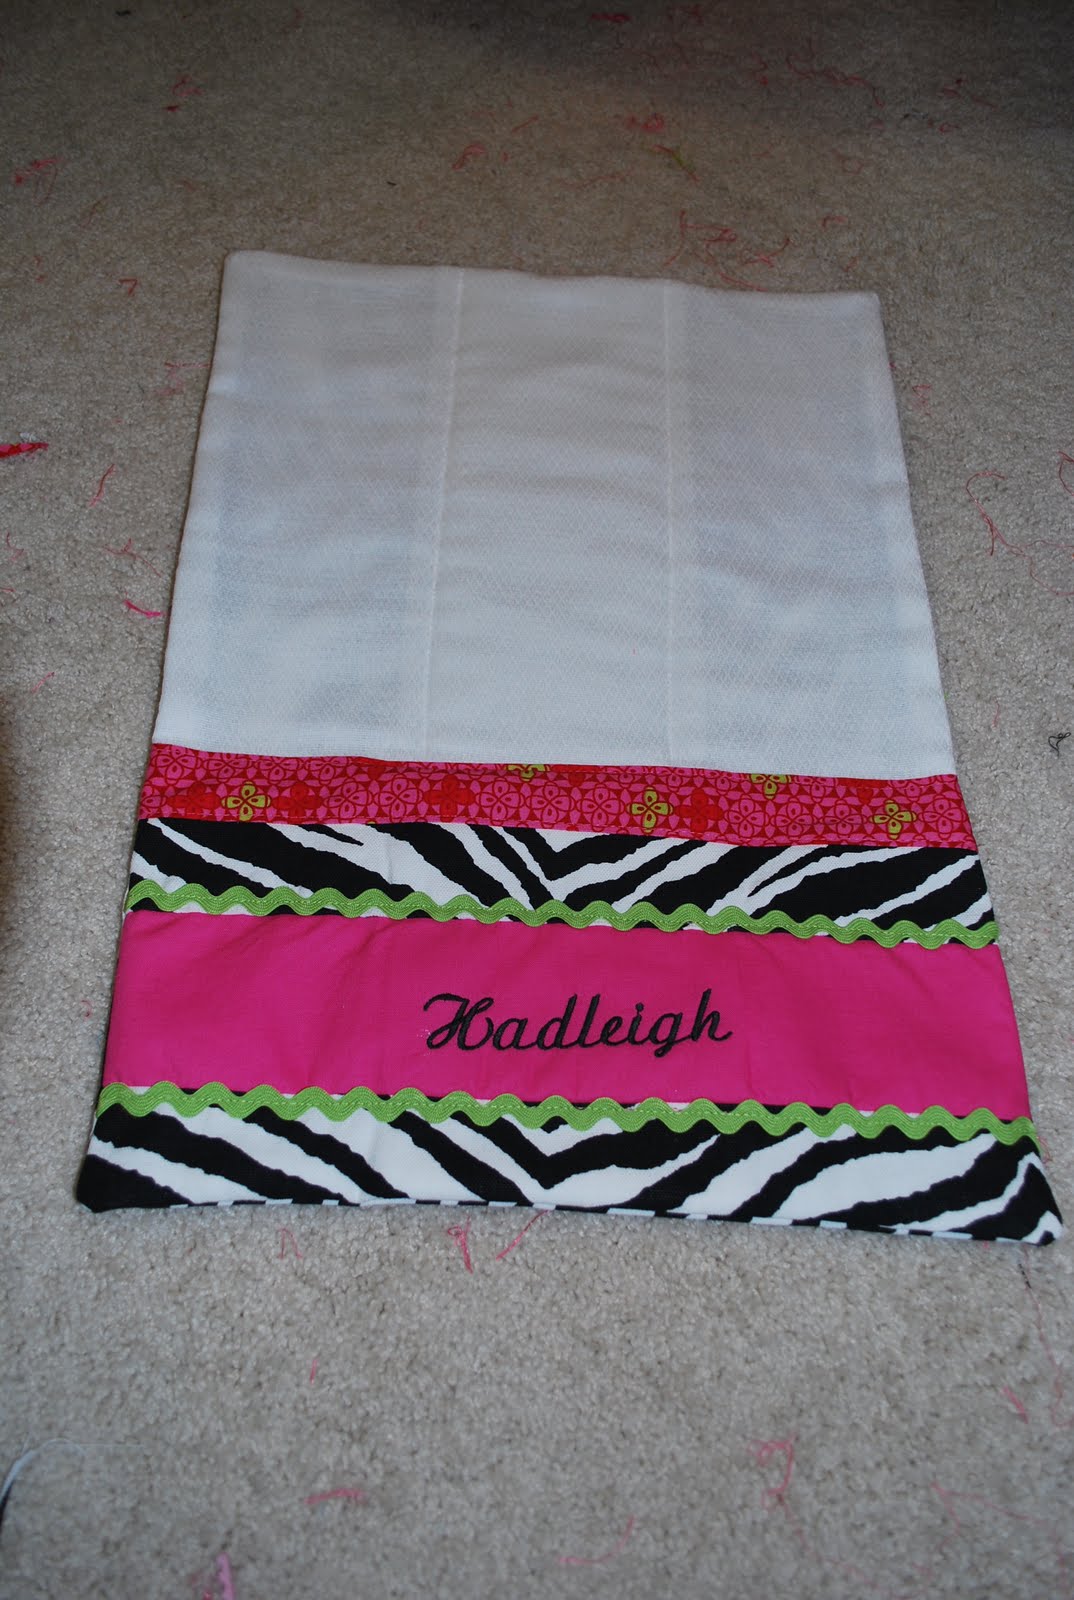
The 3 pieces are attached and this is the front of the Backsac.
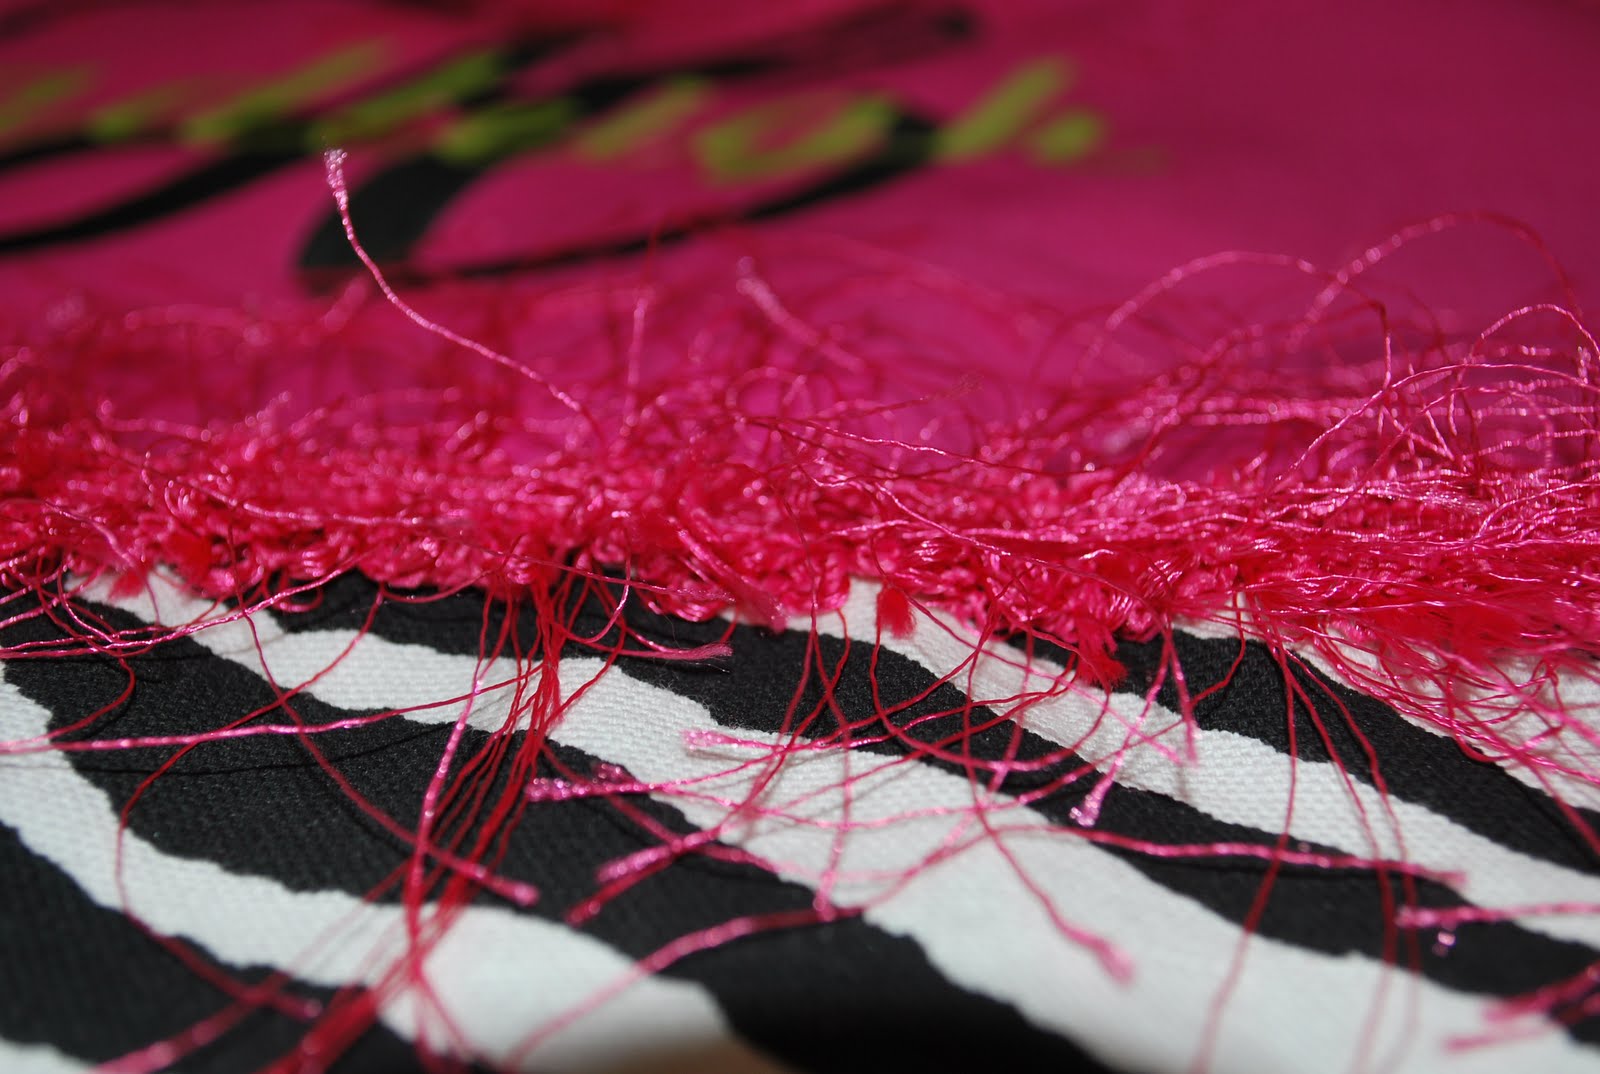
I added some fancy trim at this time where the pieces were attached...any trim could be added at this time or leave it plain...your choice!
I just love this fancy trim but boy is it a mess to work with...be careful sewing, it wants to grab your needle and hang it up...go SLOW!
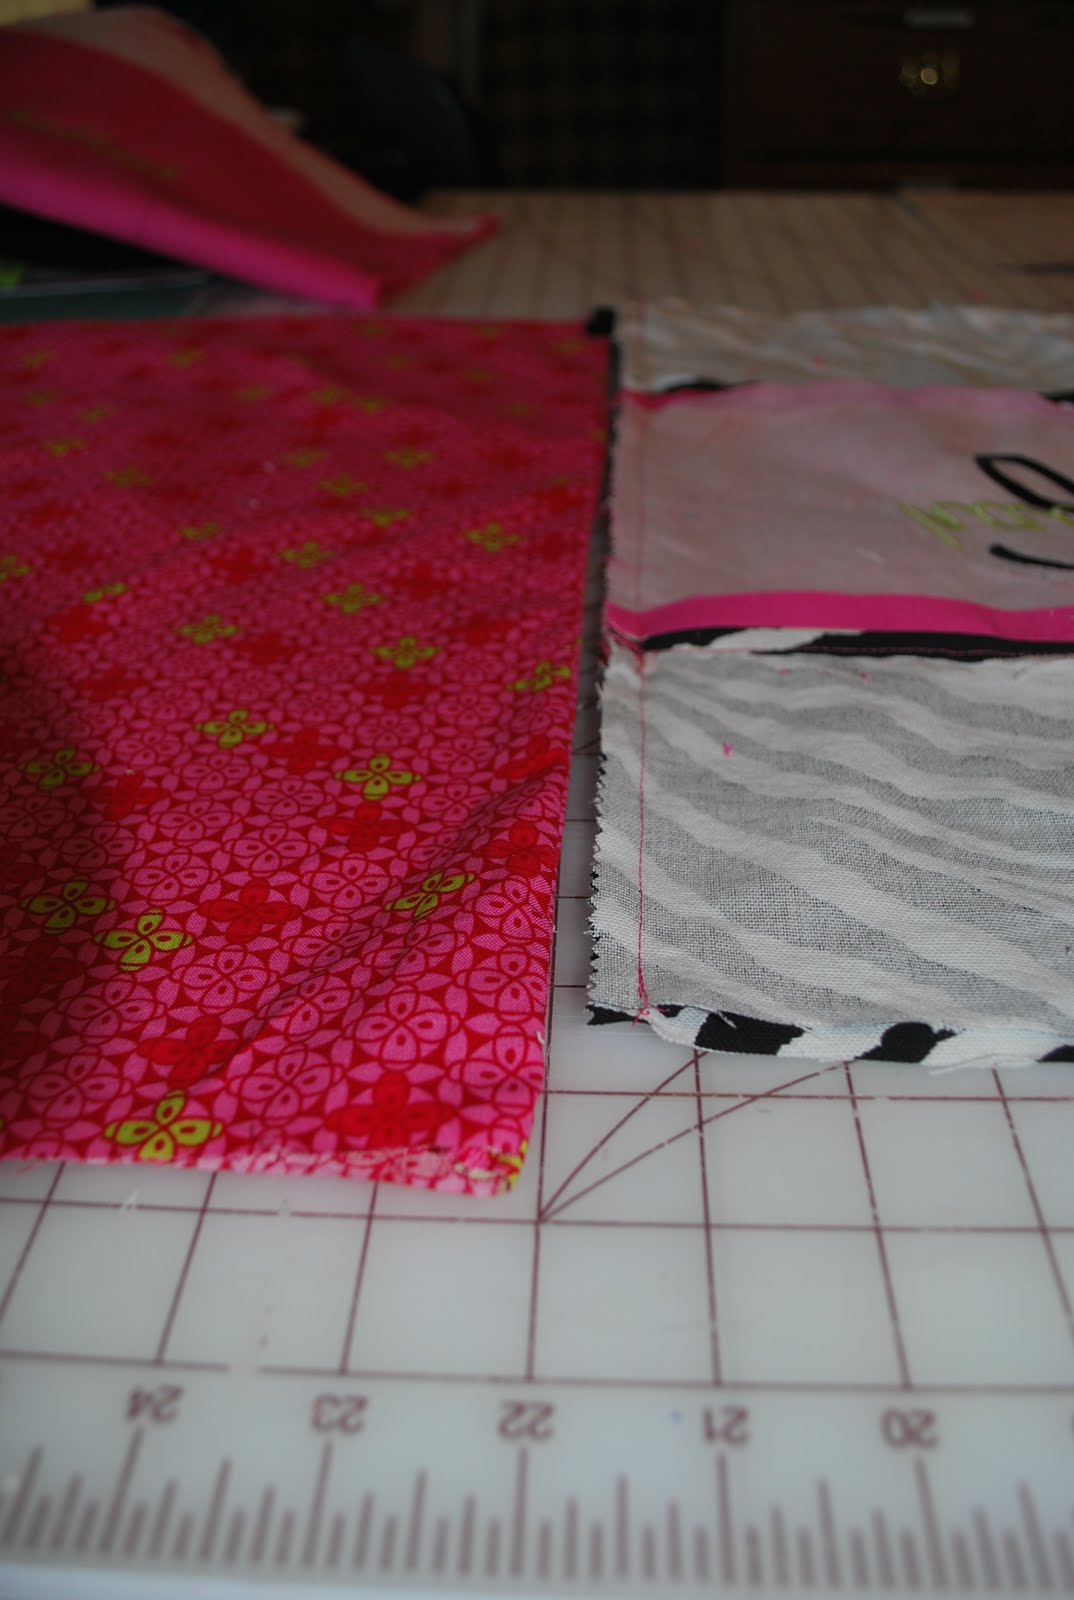
You are now ready to cut your pieces for the lining...I cut mine a few inches bigger than the sac front and back ...you will understand what I did in a minute!
This is the back piece of the sac...cut the same size as the front piece.
Pin and sew front to back on 3 sides leaving top open ( I inserted the 2 inch cording loops for the backsac cording at this time on the sac ...picture below) and do the same for the lining except leave a 2 inch opening on the bottom edge in order to turn later.
This is at the bottom of the front and back piece of the backsac ...insert loop to the right side with the raw edges hanging out of the wrong side...I burnt the edges so they would not ravel (This is nylon cording, any type ribbon or cording could be used)
As you can see the lining is longer than the backsac itself...this allows the top of the lining to entend outside and makes a band at the top of the finished sac.
This view shows the length difference better....
With front and back sides turned to the wrong side...insert the lining which is right side out and attach the tops in order to form the sac...turn the entire bag through the opening you left in the bottom of the sac lining.
This is what it will look like after you have turned the sac...press all seams flat.
Insert lining into bag and now you see why the lining was made longer...it creates a nice neat band of color at the top of the bag!
Cut 2 pieces of trim color about 1 inch longer than the finished bag width and about 3 inches wide, turn the edges to finish the width of the bag.
Sew these pieces together to form tube and turn....( I use a long paint brush...works great)!
Attach these to the front and back about 3 inches from top....the cording will be threaded through these later.
The cording is now threaded through the attached tubes and looped through the bottom loop of the sac in order for the sac to be opened and closed like a drawstring.
Knot the ends once the length is determined and burn the edges so they will not fray.
The top and bottom are now attached....you now have a BACKSAC!
I also made a small envelope style bag for a pac of wet ones to fit in....I didn't take pics of the process but it is pretty simple. I will write a post on that process at a later date!
The last gift was a burp cloth made from a diaper. I simply pieced several pieces of fabric, added my trim, attached this piece to the front of the cloth diaper. I then cut a back piece the size of the diaper and sewed right sides together leaving a small opening in order to turn, stitch the opening closed. I also sewed the front to the back along the diaper lines on front in order to hold the two pieces together.
Hadleigh is all set....she now has her own BACKSAC.....!


