Sunday, July 21, 2013

Sunflowers, Birds and Bees!

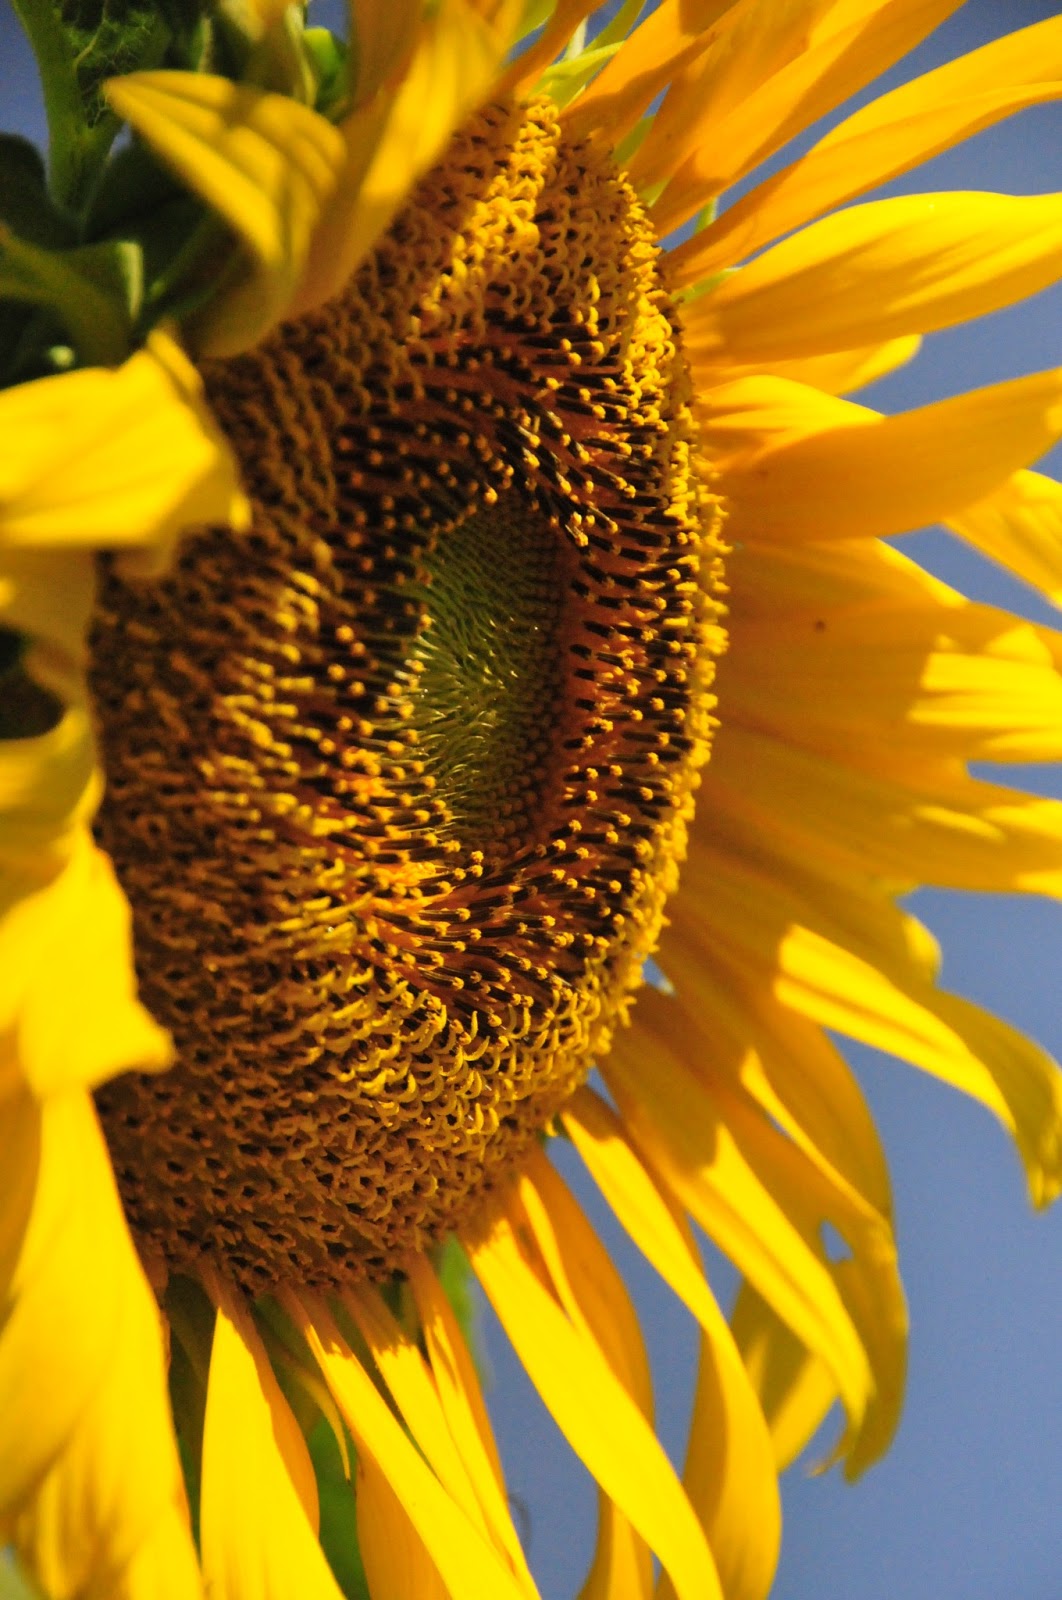
The sunflowers I planted a few months back have been such a joy to watch grow.  They attract all kinds of birds, bees and butterflies!  I have enjoyed watching the different sunflower faces appear each day and hate to see them start to fade.

I will do the sunflower patch again next summer but I have BIG plans for what's to come!  My husband knows that means more work for him but it makes me happy ....and the old saying "When moma is happy, everybody is happy" is true at my house!

This year I used the seeds I harvested from my last years patch and didn't really know what type sunflowers would appear.  I want a bit more organization to my next patch, I have a bad case of OCD and I think the sunflowers were beautiful this year but a bit too random for my taste.  I want to make sure my little sunflowers are in the front row and go up from there.  I imagine it something like a children's choir...because they look like smiling faces raising their heads to the sun ready to sing a  joyful song!  OK, I have a big imagination but that's what I want!

I am enjoying the last of the flowers now, the bees are collecting the precious golden pollen and the birds have a secret place to hide out among the big stalks and leaves.  I am hoping the snake I saw on my patio decides the sunflower patch is a better place to live....YIKES!  I was too busy trying to get my 90 lb Lily back into the house after she spotted it to see where he went.....just hoping he's not at my back door tonight when I let her out!




"Fairies sit atop colorful blooms and gossip with the butterflies."

Thursday, May 30, 2013

SUNFLOWER SEASON

It's that time of year....SUNFLOWER SEASON!  My favorite flower of all time, they make me so happy!  I planted my little piece of heaven about a month ago and it is growing like wildfire!  This time last year was my first time to plant seeds that I purchased...I was a SUNFLOWER NEWBIE!  I had so many flowers and really surprised myself that I could grow something so pretty.  Believe me, if I can grow it, anyone can grow it!!!
After the flowers bloomed last year, I cut them with about a 6 to 8 inch stem and hung them in my garage until they were fully dried.  The seeds will start poking out as they curl up and dry.  I pulled all the seeds out and stored them in a container.  Those seeds I harvested are the seeds that I planted this year.  I am so excited to see them grow and look forward to collecting the seeds once again for next year!
 Seeds just started to sprout! YIPPEE!

 
 The seedlings look a bit sad but they grow big and BEAUTIFUL!
 Look how much they grew in about 2 weeks!
Growing bigger every day!
My first SUNFLOWER showed her pretty face today 5-28-2013!
Looking forward to seeing many more SUNFLOWER FACES!

Monday, April 1, 2013

Makeup Brush Carrier!

Every project seems to start with a NEED! My daughter needed something that she could put her makeup brushes in to travel.  When she gets to where she's going she can unwrap the carrier and she can lay her makeup out on the towel and it won't have to be on the bare counter.
I started with 2 hand towels. I cut the binding off the towel so it would be easier to sew.   I used pink check fabric for the outside and the tie.  I laid one of the towels out and cut the other towel in half width wise.  I laid the cut towel right side up onto the other towel with the finished towel edge as the top.  I decided how far apart I wanted the brush pockets.  I placed a piece of tape every 2 inches on several and 3 inches on the others.  I took it to the sewing machine and stitched to the right of the tape through both layers of towel.  I also cut a piece of the hand towel and made 2 pockets on the upper edge for extra storage.  I used the finished corners of the towel for the pockets.  I made the tie closure by cutting a 4 inch piece of the pink check fabric, folded it in half and stitched on one side and turned it to form the tie.  I placed the ties on the edge of the right side and stitched in place.
My outside fabric was cut the same size as the hand towel.  I placed the towel and fabric right sides together with the tie inside (pin in place so you won't stitch the tie into the edge seams) and stitched all four sides leaving a 5 inch opening to turn.  I did an over lock stitch on the edges so it wouldn't fray when washed.
After turning I pressed all seams flat and hand stitched the opening closed.  The brushes can be inserted into the pockets, fold the top of the towel down halfway, fold to the middle, bring the ties on opposite sides and tie it up! It's ready to travel!


Ready...Set....Travel....!

Wednesday, February 27, 2013

Fur Stool....BORING TO GLAM!

Black stool....Boring....ADD FUR!  A simple redo on a blah stool takes it to GLAM!

Mark the top of the stool on the foam, cut to fit.  I cut a piece of batting to cover the foam to keep it in place.  After stapling the batting I cut the fur the size I needed to overlap the foam and batting.  I started on the ends and stapled the fur in place folding the raw edges and then staple.  Continue this on all four sides and then start working with the corners.  I had to cut some of the fur away around the corners in order for the staples to go into the wood of the stool.


BORING TO GLAM IN MINUTES

Saturday, February 23, 2013

Shower Curtain Pillows...?

I spotted this super cute, shinny shower curtain and decided it needed to be a PILLOW for my daughter's glam apartment instead of a shower curtain....my mind works like that..tell me I'm not alone!  It was the perfect size to recover two UGLY pillows I saved, I knew I would need them someday!
It was really simple...cut the shower curtain in half , lay the pillow forms down and determine what size I needed to cut the fabric.  I turned the edges in on the back to finish the raw edges, overlapping the back to form an opening for the pillow form.  Sew all four sides, turn, press and you have pillow covers. Easy as that!


UGLY TO GLAM....EASY PEEZY!

Wednesday, February 20, 2013

Owl Pillow....What a HOOT!

My sister and I are big OWL fans!  When I spotted this owl graphic on "The Graphic Fairy"  I knew I wanted to use it for something.  I decided to print it out on a piece of photo fabric and make a pillow.  It is really easy to use the fabric, it has a backing that allows it to go through the computer easily.  You wait for the ink to dry and then rinse with water, dry completely before using.  It's ready to use in your project.

I measured the sides and top of the graphic and cut 3" strips of orange fabric (I used a pillow case I found in the exact orange I wanted to use) I attached the orange to all four sides.  I then cut the green fabric in 4" strips and repeated the process.  I did this again with the orange but cut the strips 4" wide.  After attaching the borders I pressed all seams out.  The back piece of the pillow was cut in two pieces so they could overlap in the back to form the opening for the pillow form.  I stitched raw edges and overlapped the back.  Lay  the pillow front on the pillow back and stitch on all four sides.  Using the center back opening turn right side out, press and insert pillow form.


Happy Birthday Sis......OWL ALWAYS LOVE YOU!  

Tuesday, February 19, 2013

Hooded Towel....Ribbet...Ribbet!

Towel turned frog for a super sweet boy!  I spotted this hooded towel project on "Crazy Little Projects" blog.  She has several other versions, all super cute!  I love frogs so that's why this one appealed to me so much.  I made it for a special boy, JOE!
All the directions are located on Amber's blog post HERE
super easy, super cute!


Thank you Amber for cute inspiration!
Related Posts Plugin for WordPress, Blogger...