Friday, November 30, 2012

DCC Group Gifts!

I have been busy making some special gifts for America's Sweethearts...Dallas Cowboy Cheerleaders!  My daughter, Amelia, is a second year DCC.  The girls are divided into 4 groups and at every game one of the girls in their group brings gifts for their group members.  Thanksgiving day was my daughters gift game day.  I couldn't post anything until after just in case they read my blog....lol!

Amelia decided on flatiron bags, a card holder for the DCC autograph cards as well as a monogrammed t-shirt.  I didn't use a pattern, just my imagination!  


Group 2 DCC loved their gifts!  

Tuesday, September 4, 2012

Star Bear Pennant

This project was a labor of love, it's for my oldest sister who turned 60 this month.  She has been teaching 1st grade for about 35+ years so far and her class is known as the Star Bears....everything is all about the BEAR!  I came up with the perfect gift for her, a pennant for her classroom.

Supplies included:
Main fabric
Lining fabric
Interfacing
Fabric for letters
Heat and bond
Ribbon 
Cricut Letters


 I made a pattern and cut pennant pieces out of the main fabric along with the lining and iron on interfacing.  I did that for all my 16 pieces.  I spelled our Ms. Vowels Star Bears! I ironed the interfacing to the front side fabric to give it more stability.

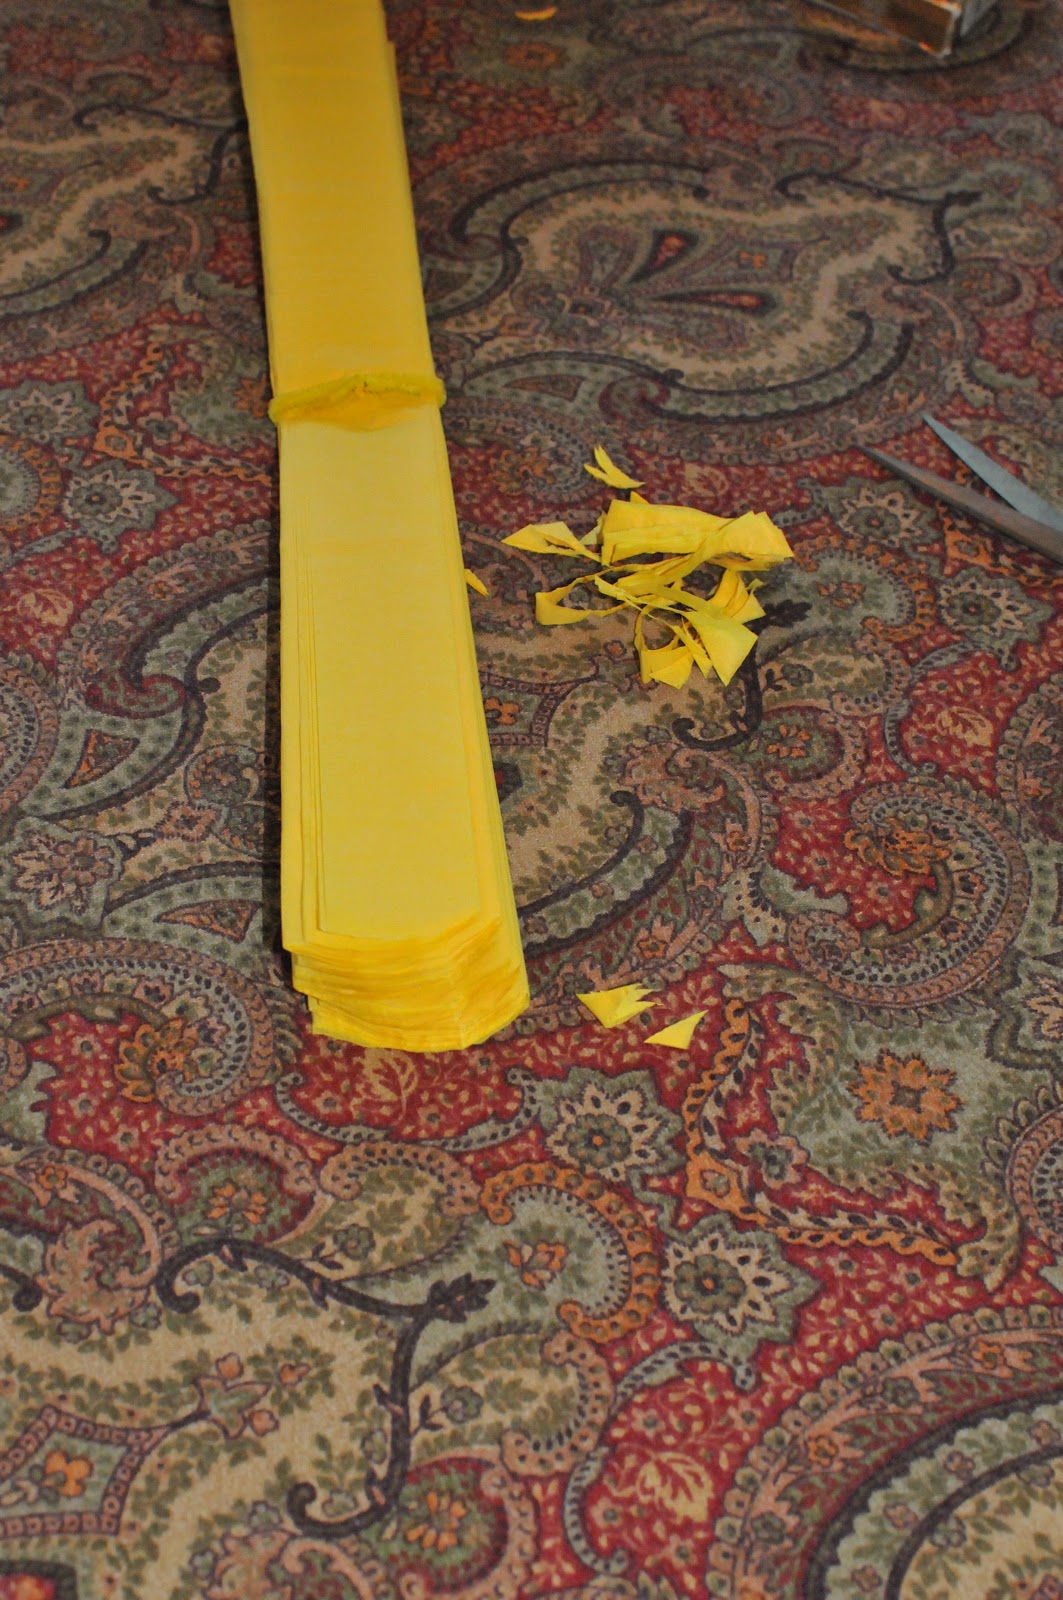
 Before sewing the pieces together I cut a small piece of a pink shoe string (I used what I had...you could use ribbon or elastic) for both sides of the pennant.  I sewed the looped piece onto each side to hold in place then stitched wrong sides together leaving an opening at the top to turn right side out.
Don't forget to leave an opening at the top to turn after trimming seams!

 The lining on this piece was pink....this is the opening I left in order to turn right side out.
 All turned and ready to push all the corners out and get everything smooth!
  I use a small pointed paint brush to push the corners...works like a dream!!!
 After turning and pushing all the corners out....IRON it....makes everything crisp!
 This is my helper Sadie...she makes sure I do it right...!
After ironing the piece I stitched across the top edge.
After all the pieces were stitched I ironed on my letters I cut out previously with my Cricut. I ironed on the Heat and Bond to my fabric and ran it through the Cricut using the Plantin Schoolbooks cartridge.

All the letters were ironed on and ready to put together!
I attached each piece together with a small piece of ribbon.
After attaching the pieces together I added the decorative ribbon in the middle.
Once the pieces were attached I added several pieces of ribbon to the end so it could be hung on the wall.
The finished pennant banner...Ms. Vowels    Star Bears!
 I also gave my sis this precious desk I happened up on at Goodwill along with the cute bear.  I made a bow for the bear out of the pennant fabric along with a "Super Star" Button....!
You only turn 60 once but you can say it over and over again....I cut these with my Cricut and glued them onto card stock.  She was super surprised with all her goodies!


Sunday, September 2, 2012

DCC 2nd Year Veteran for 2012-2013

Well...I get to go watch my girl cheer and dance another year as a Dallas Cowboys Cheerleader.
They made the final cut about a month ago and Amelia will be a DCC once again along with 38 beautiful young ladies.  It's so much fun watching her follow her dreams and getting to watch her dance year after year.  I have already been to the Silver and Blue Debut and the 1st preseason game against the Rams.  Dallas looks like they are going to have a good team and the DCC will hopefully have lots to cheer about.
I will be in the stadium cheering on my girl...fun times and lots of memories in the making!!!


Tissue paper balls

I know there are a million tissue paper flower tutorials but now there are a million and 1!
My sister, Sheri and I made these for a shower her daughter was hosting...Bee Theme!
Super easy decorations...supplies:
Tissue Paper (8 sheets per flower)
pipe cleaners or wire
fishing line
scissors


Fan fold the tissue...wrap pipe cleaner around to secure

Wrap the center with fishing line to hang later...cut plenty!

Gently pull the tissue layers apart (GENTLY...tears easily)
Pull 4 layers to one side and 4 to the other side.
I pulled them all to one side in order to transport....I fluffed into a ball before hanging.

Now you have 1 flower....keep going.......!

Now you have a garden of flowers...I 


This is the finished product...all fluffed into balls!
The baby shower was a big success!

Tuesday, August 14, 2012

Chair gets a FACE LIFT!

This project started with a great find by my sister Sheri!  She is great at finding STUFF....and then we make it BEAUTIFUL!  She found these not so beautiful chairs and saw the beauty underneath wanting to shine.

She began the process by removing the million+ staples holding the old fabric to the chair frame.  She was careful about saving the old fabric on the back along with the padding so it could be used again.

Orange was her color of choice for the frame once all the cushions and back fabric was removed.
This is where I come in....we started with the seat leaving the old fabric on for support and wrapped the new FACE print fabric onto the cushion.


We were careful to curve the edges to make them as smooth as possible.  Many staples  later the cushion was covered and we were ready to tackle the back of the chair.


We began attaching the back by putting the fabric down on the frame and stapling it to the inside.  The next  step was covering the worn padding with a new later of batting and then the new fabric and stapling that along the same frame area as before.  This was difficult but we managed to get it done. We trimmed the fabric and batting as close as possible so we could put trim on it later.

After getting both cushions covered along with both backs we were almost finished.....

A little blood was shed while stapling...be sure to hold hand away from stapler while loading..lesson learned!

We added the black trim around the back cushion with hot glue and we were all finished!
Job well done...feeling a great deal of accomplishment!
Thanks to S.A.S. Interiors for a wonderful tutorial that helped us with our project!

Related Posts Plugin for WordPress, Blogger...